2. Ubuntu 24.04 Server Installation
Use this page when you are building a new Mirror Server. If Ubuntu 24.04 is already installed and validated, continue to Mirror Server Setup.What you are building
Use a clean Ubuntu 24.04 LTS amd64 server. The current validated minimum/baseline is:
The screenshots below use a 100 GB VM with 6 vCPU and 6 GB RAM. Those values are an example, not a replacement for the current requirements above.
Step 1 — Create the VM and attach Ubuntu 24.04 ISO
Create the VM, attach an Ubuntu 24.04 Server ISO, and make sure the disk is at least 100 GB.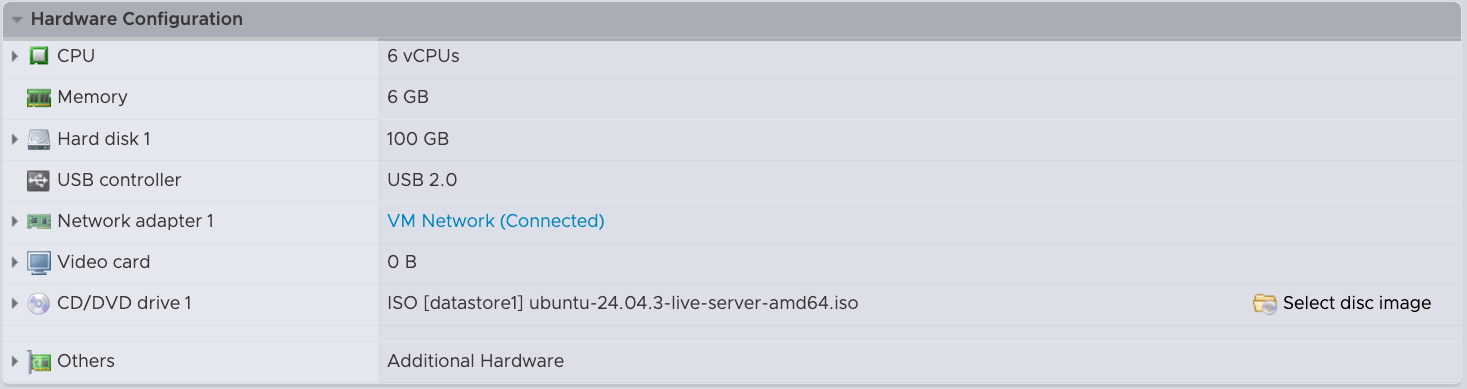
Step 2 — Start the Ubuntu Server installer
Boot the VM and select Try or Install Ubuntu Server.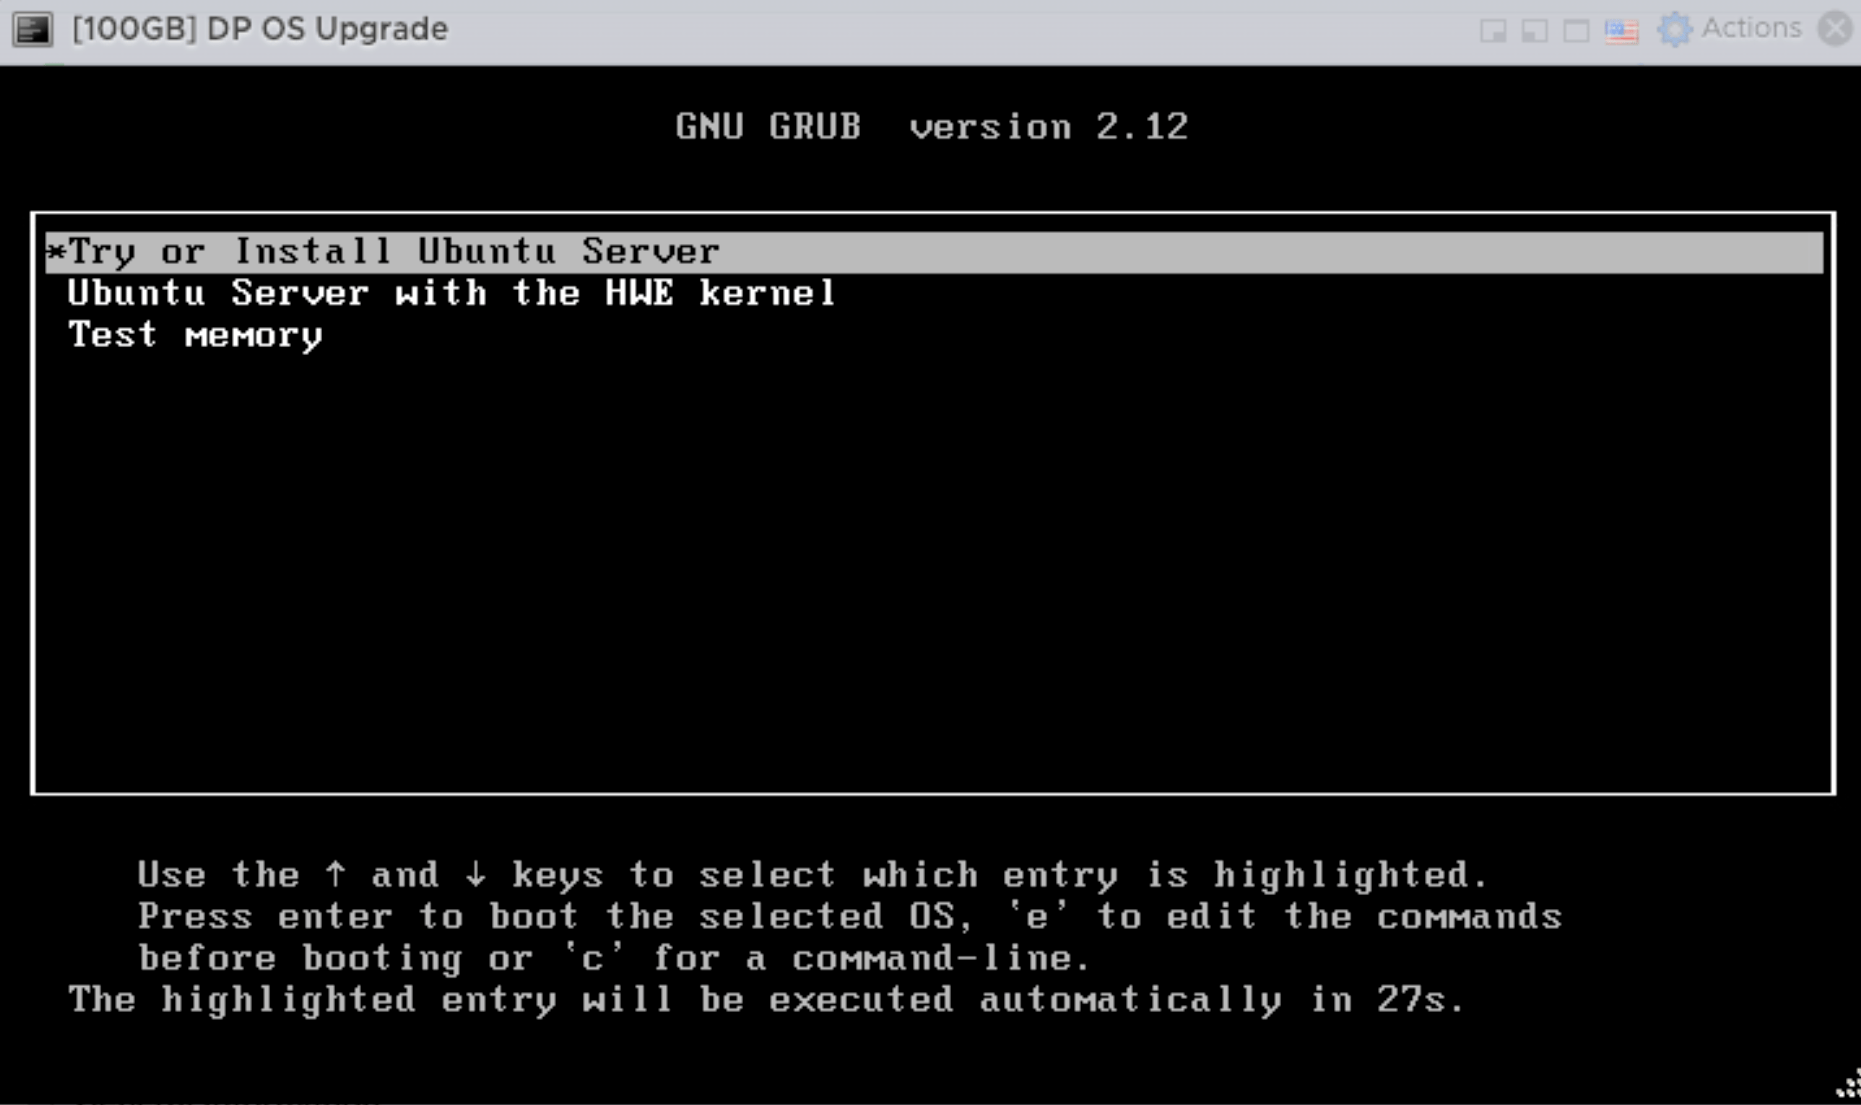
Step 3 — Use the full disk and LVM
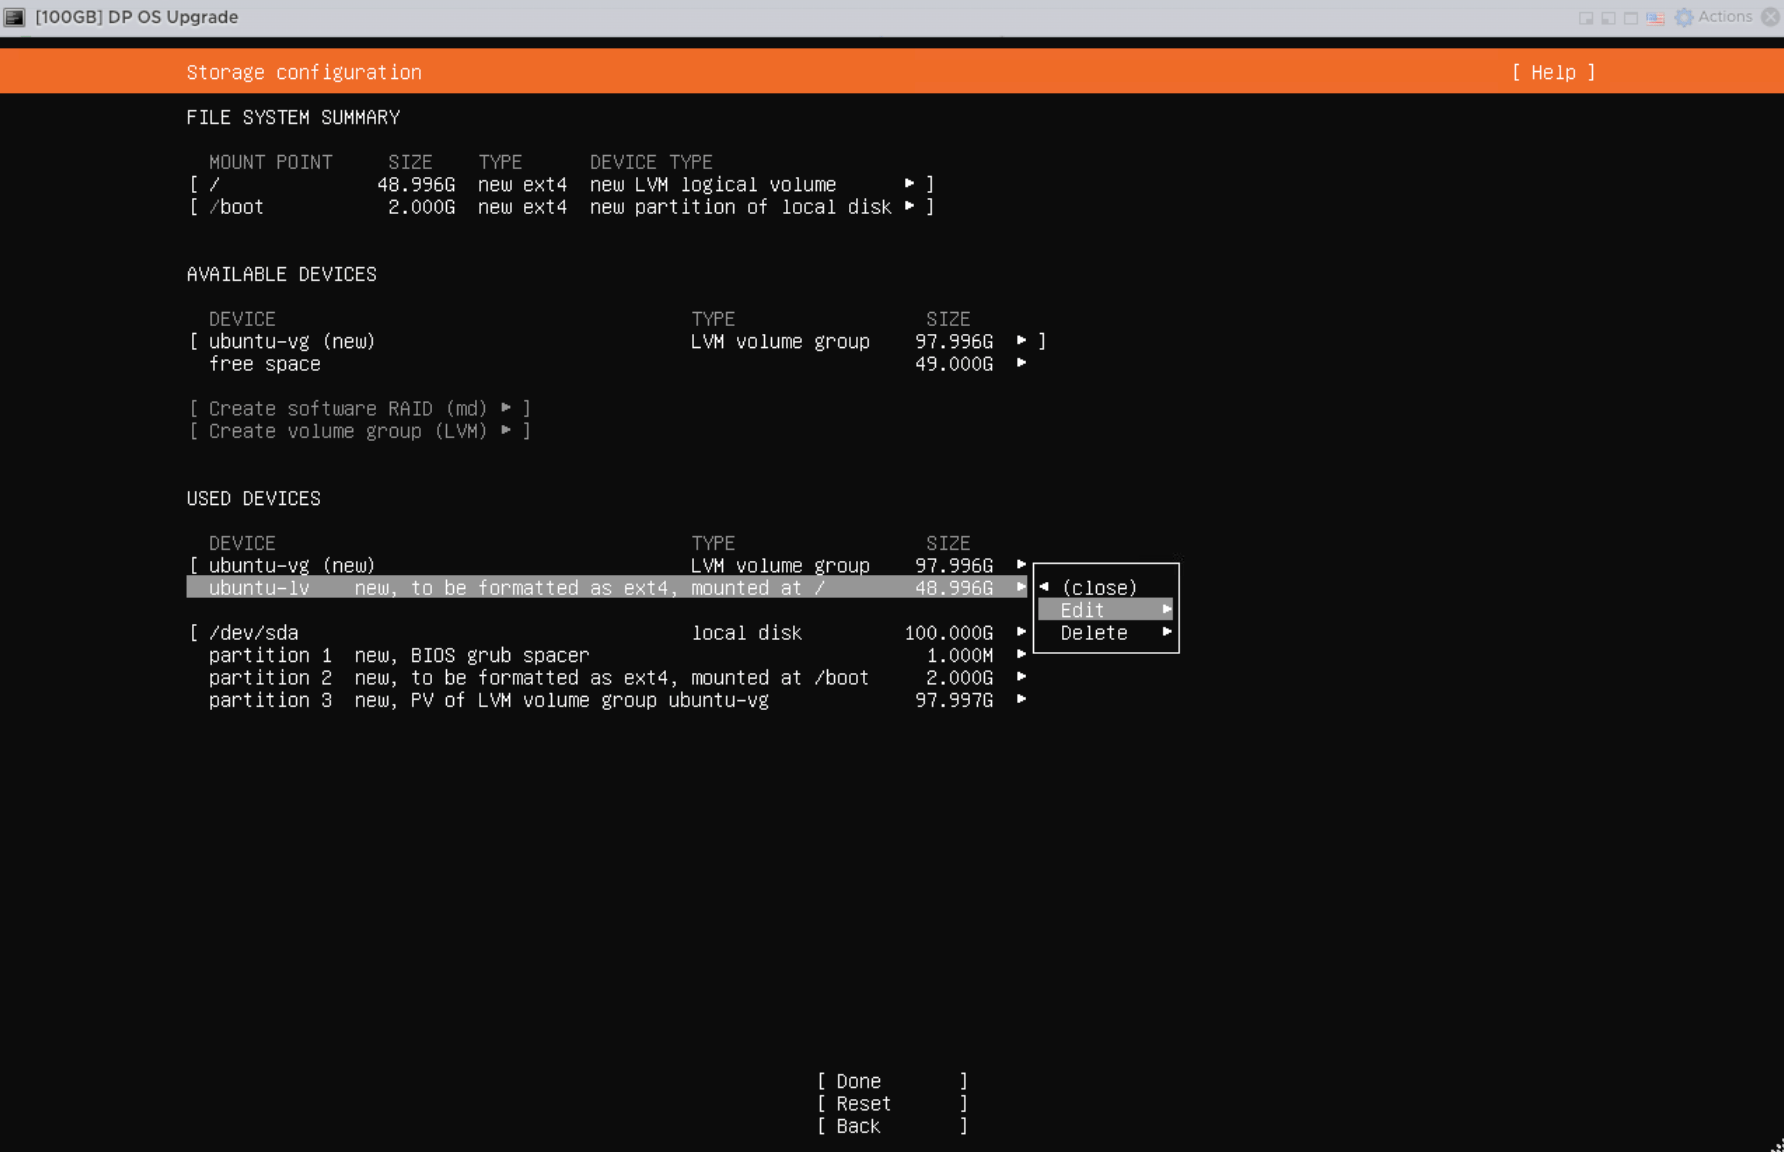
On Guided storage configuration, select the installation disk and LVM.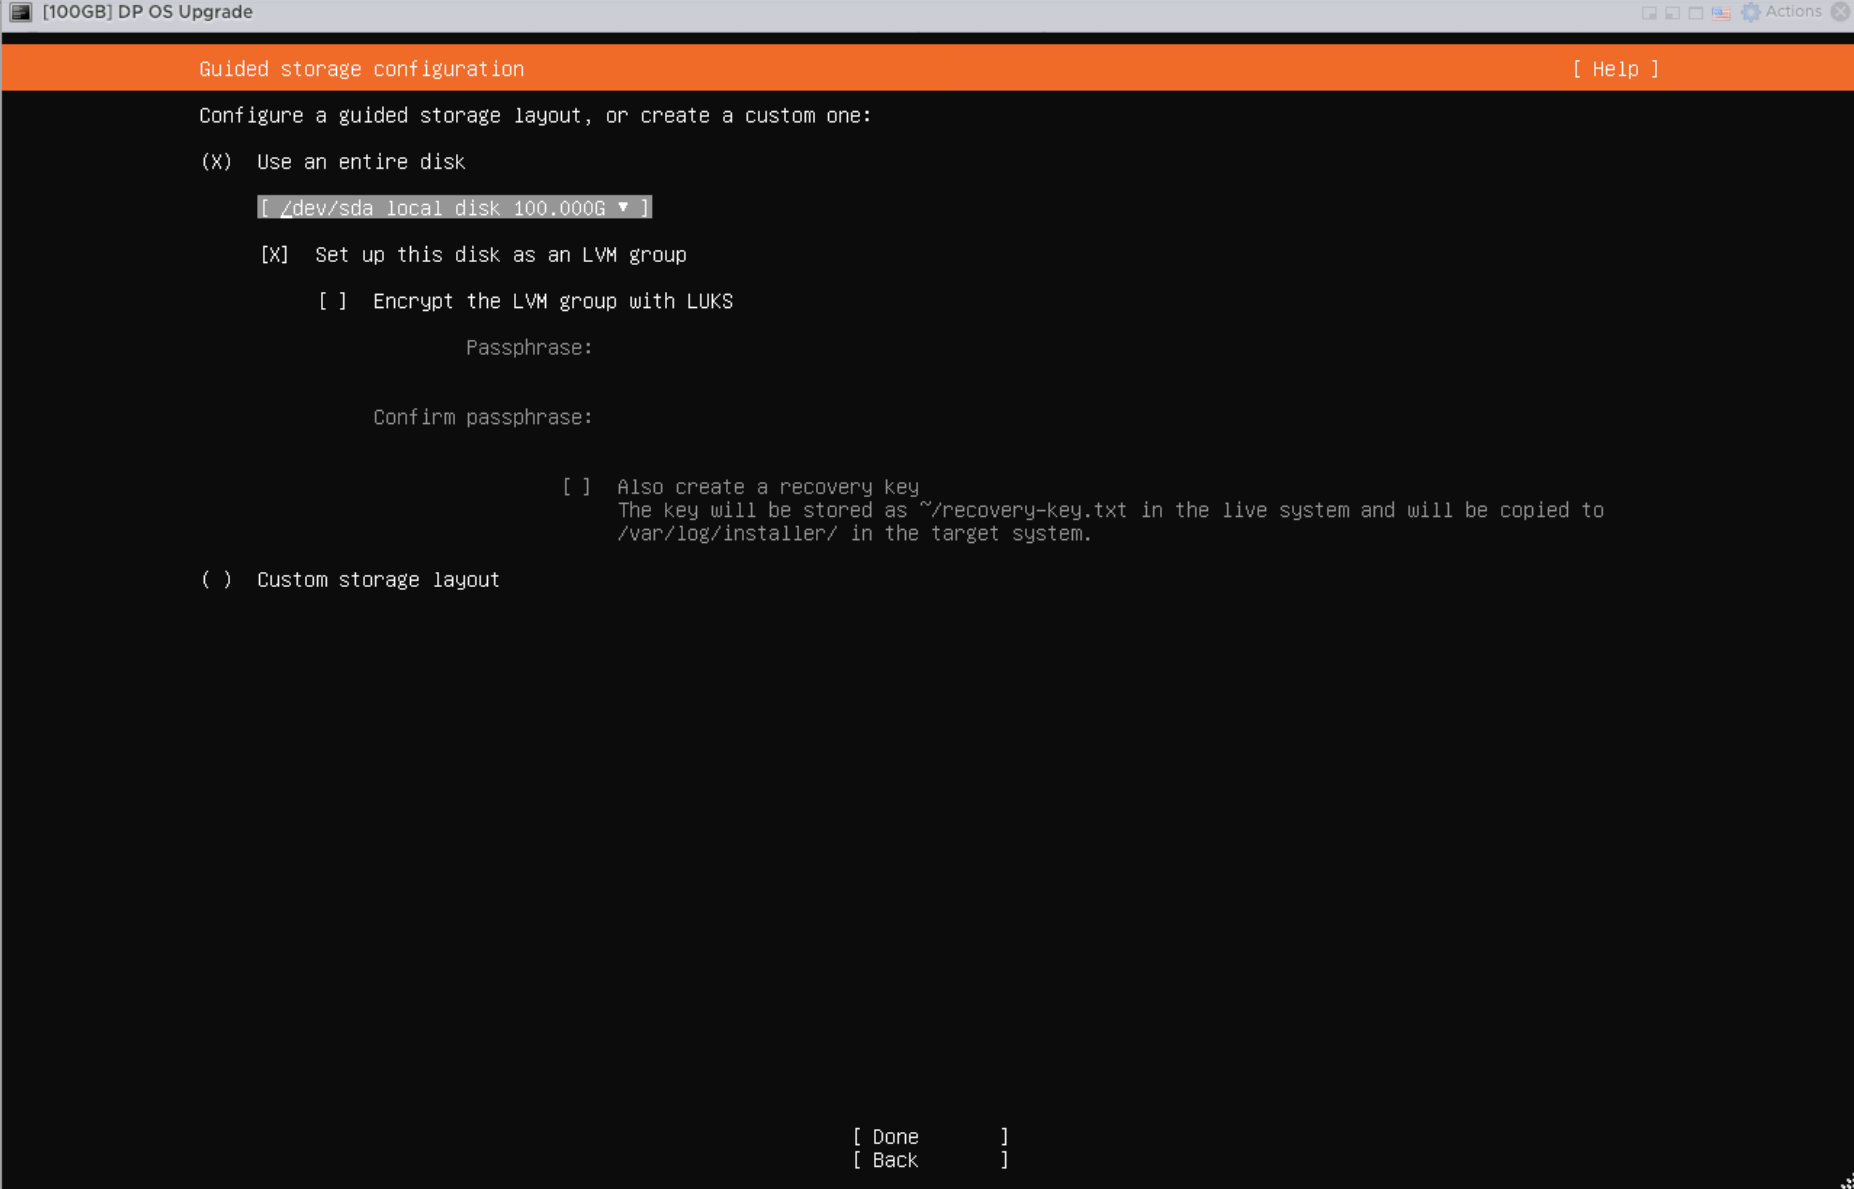
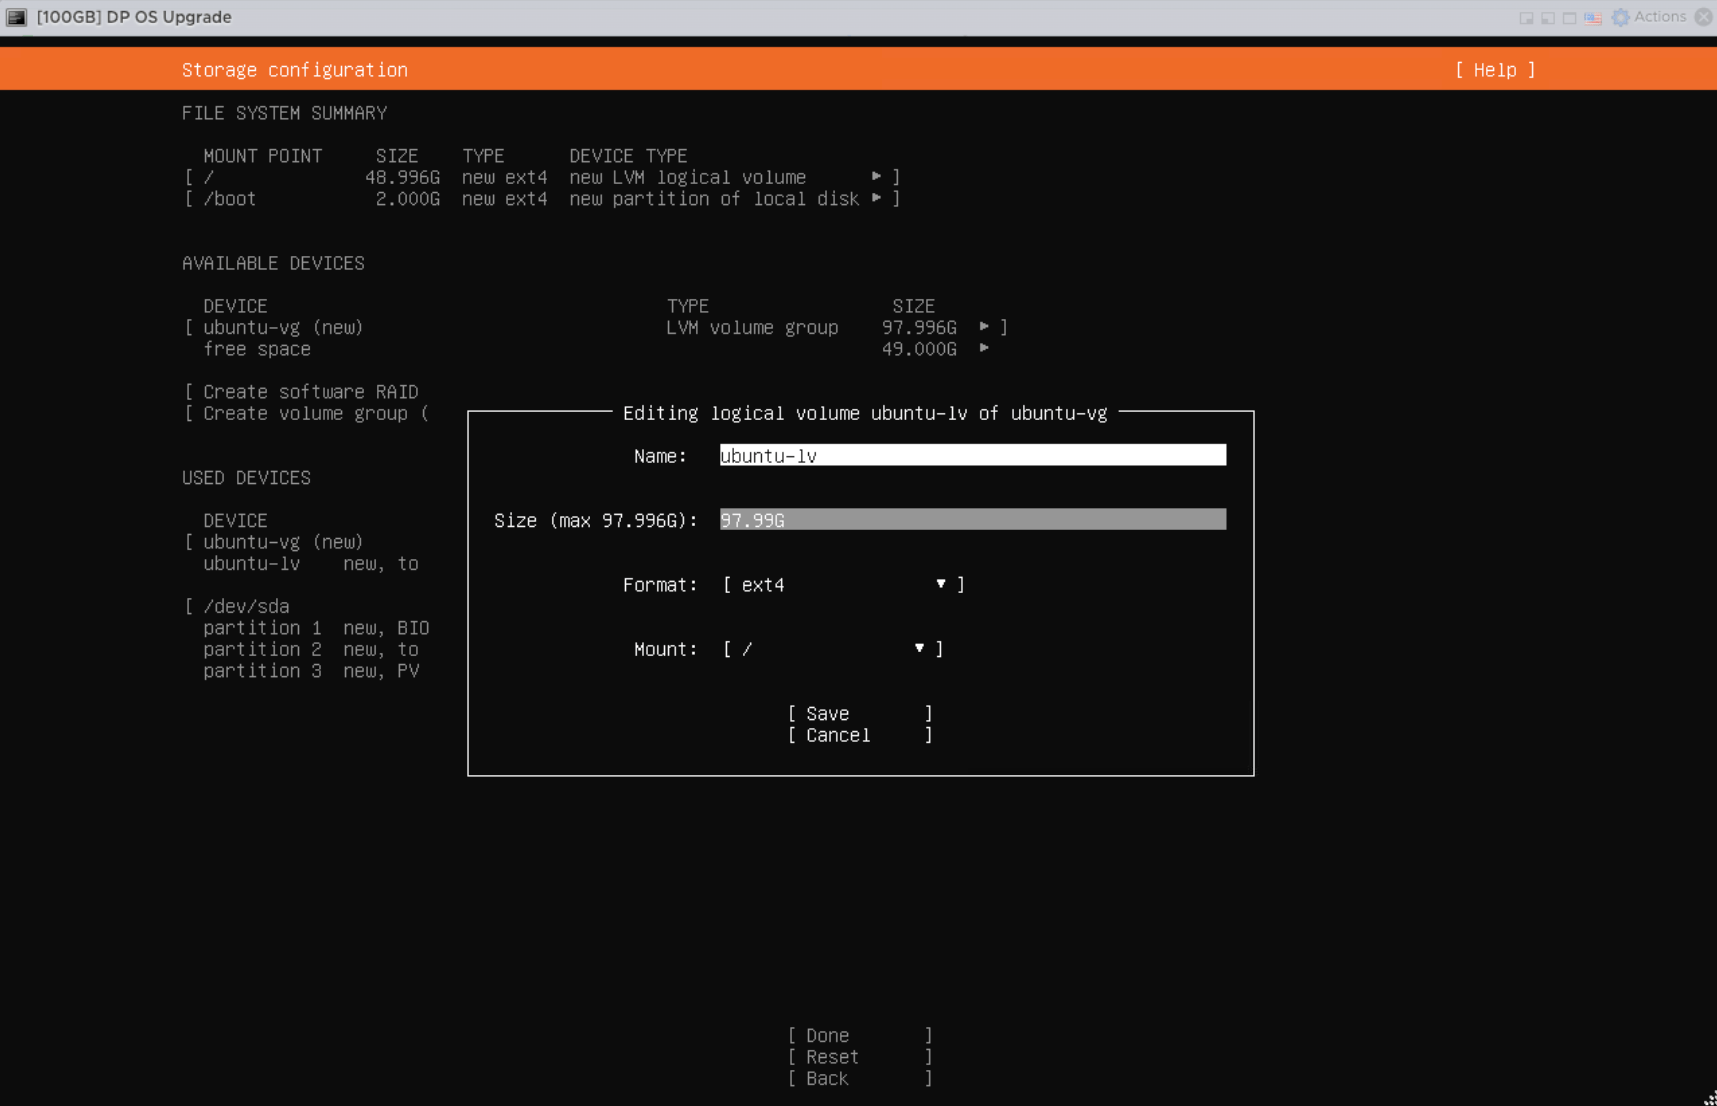
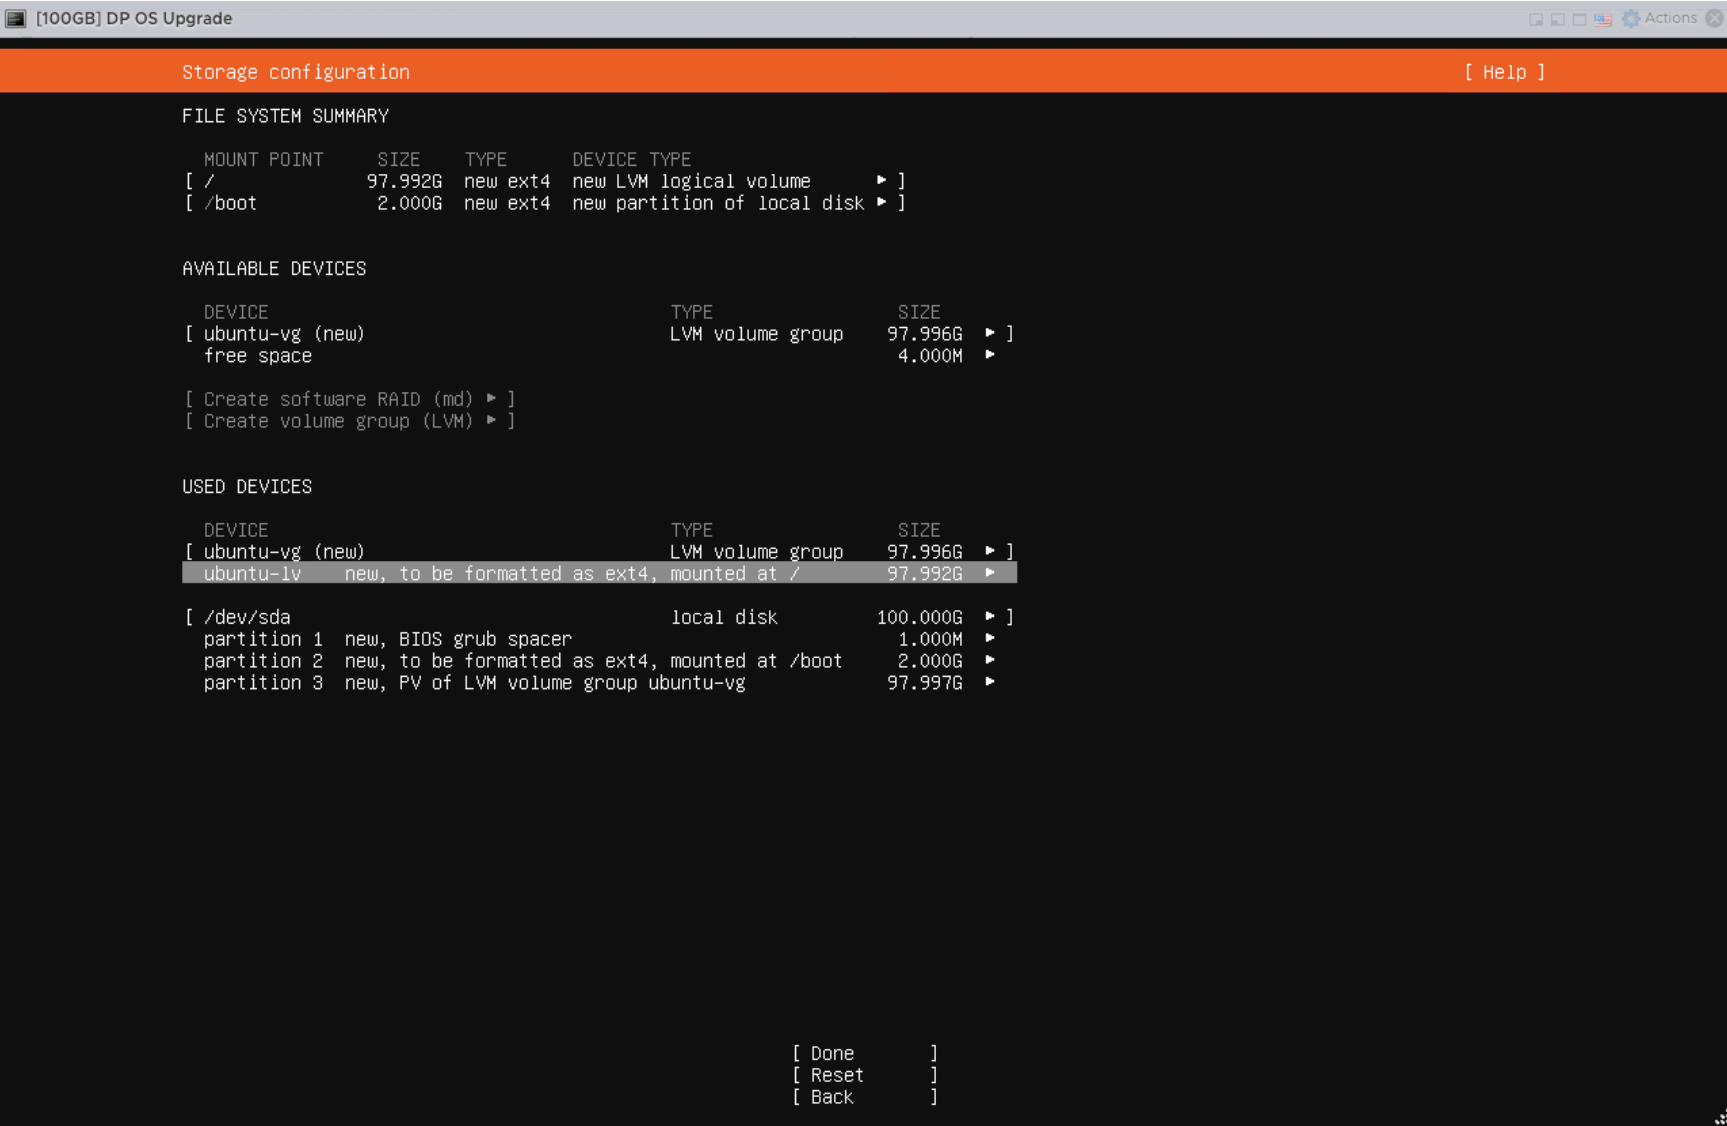
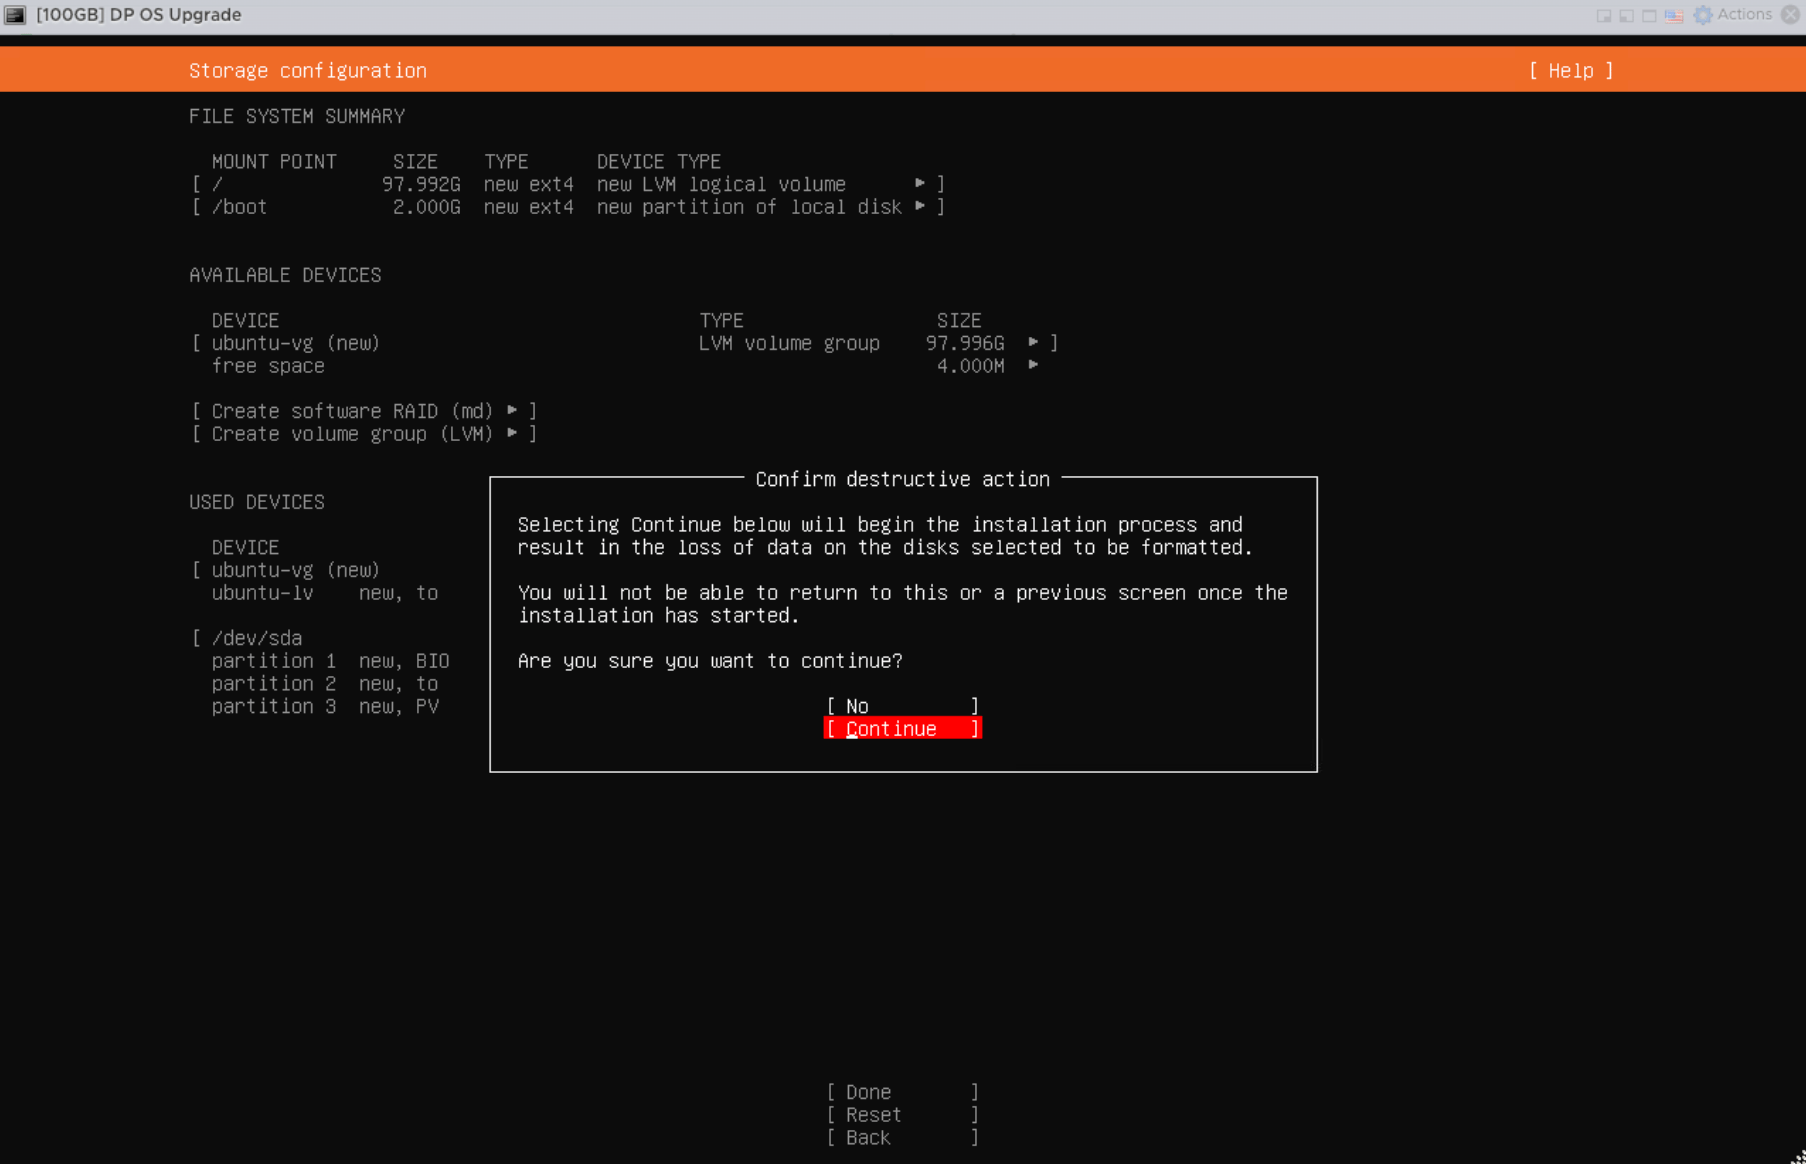
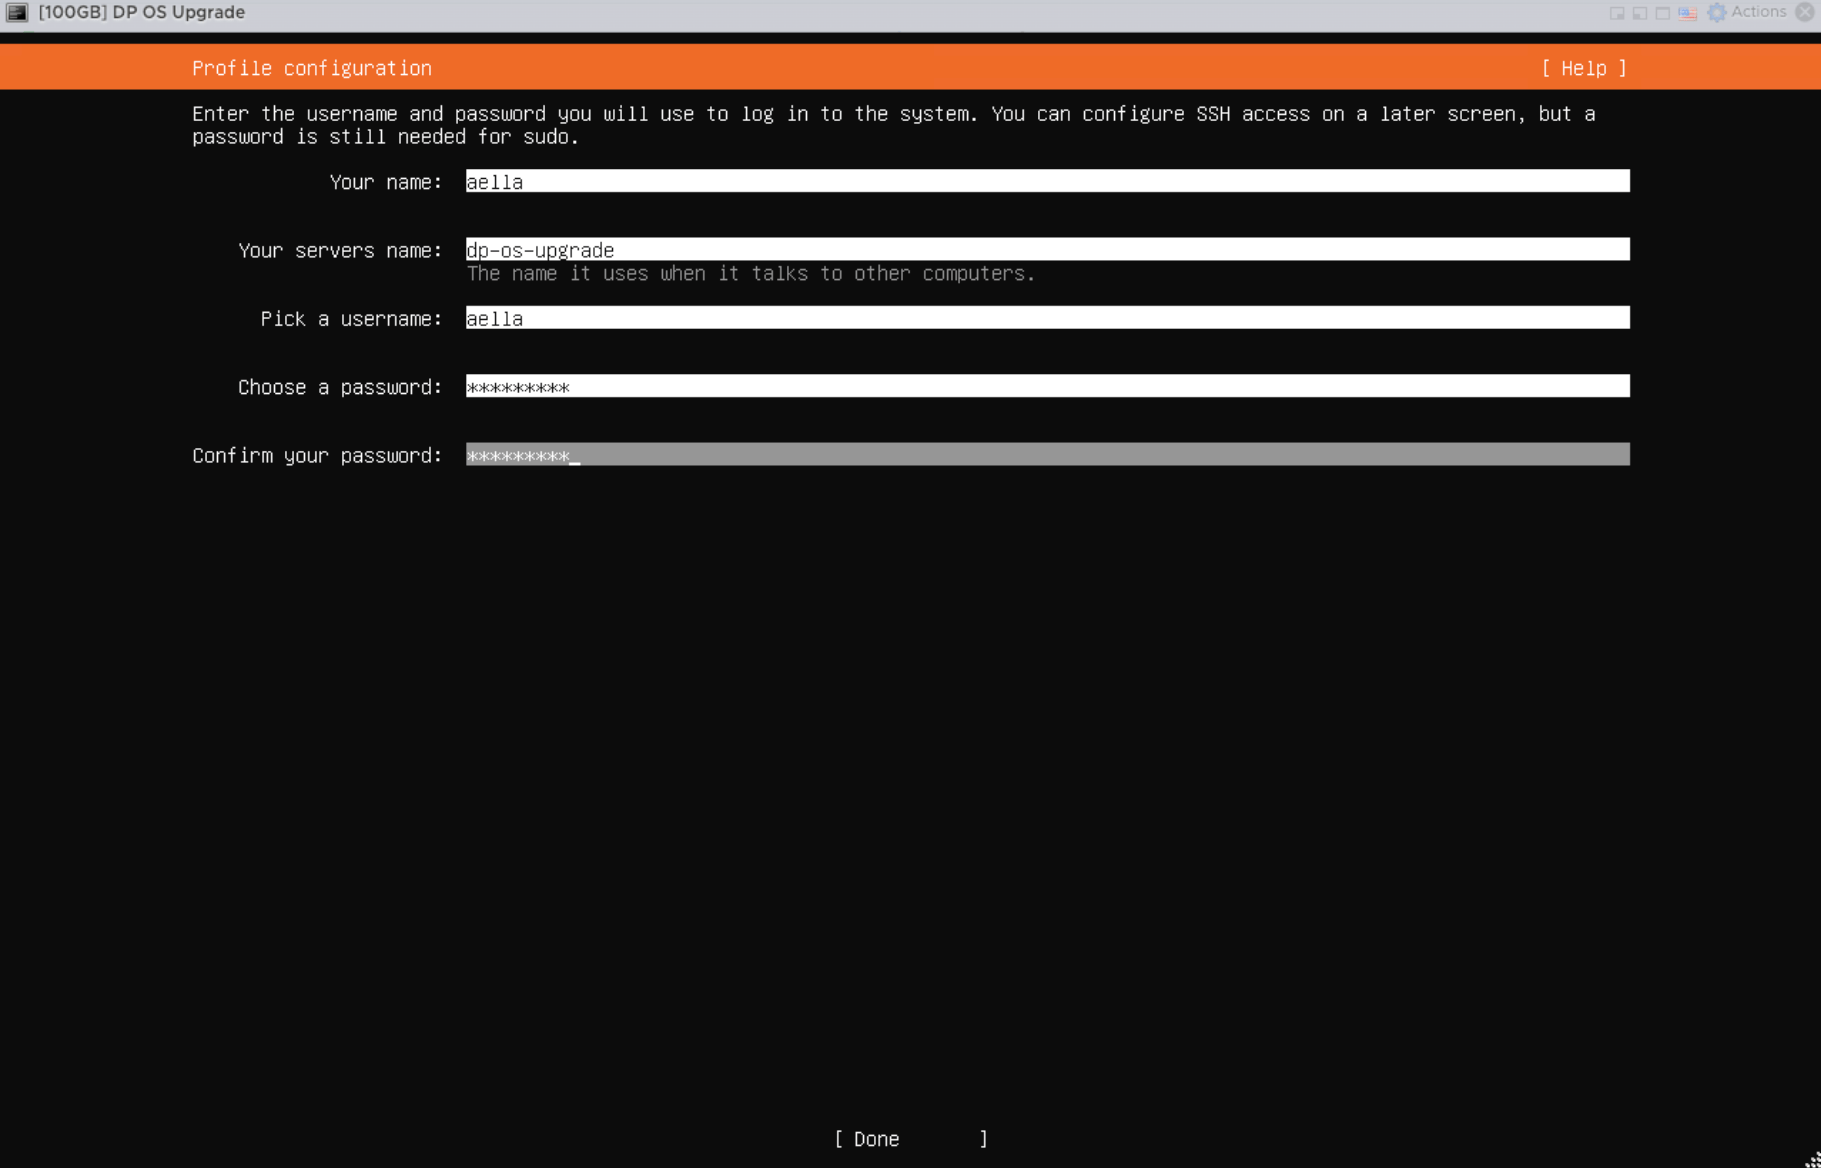
Step 4 — Create the administrator account
Create the local administrator account. The screenshots useaella as an example.
Step 5 — Install OpenSSH Server
Select Install OpenSSH server so the server can be managed remotely after installation.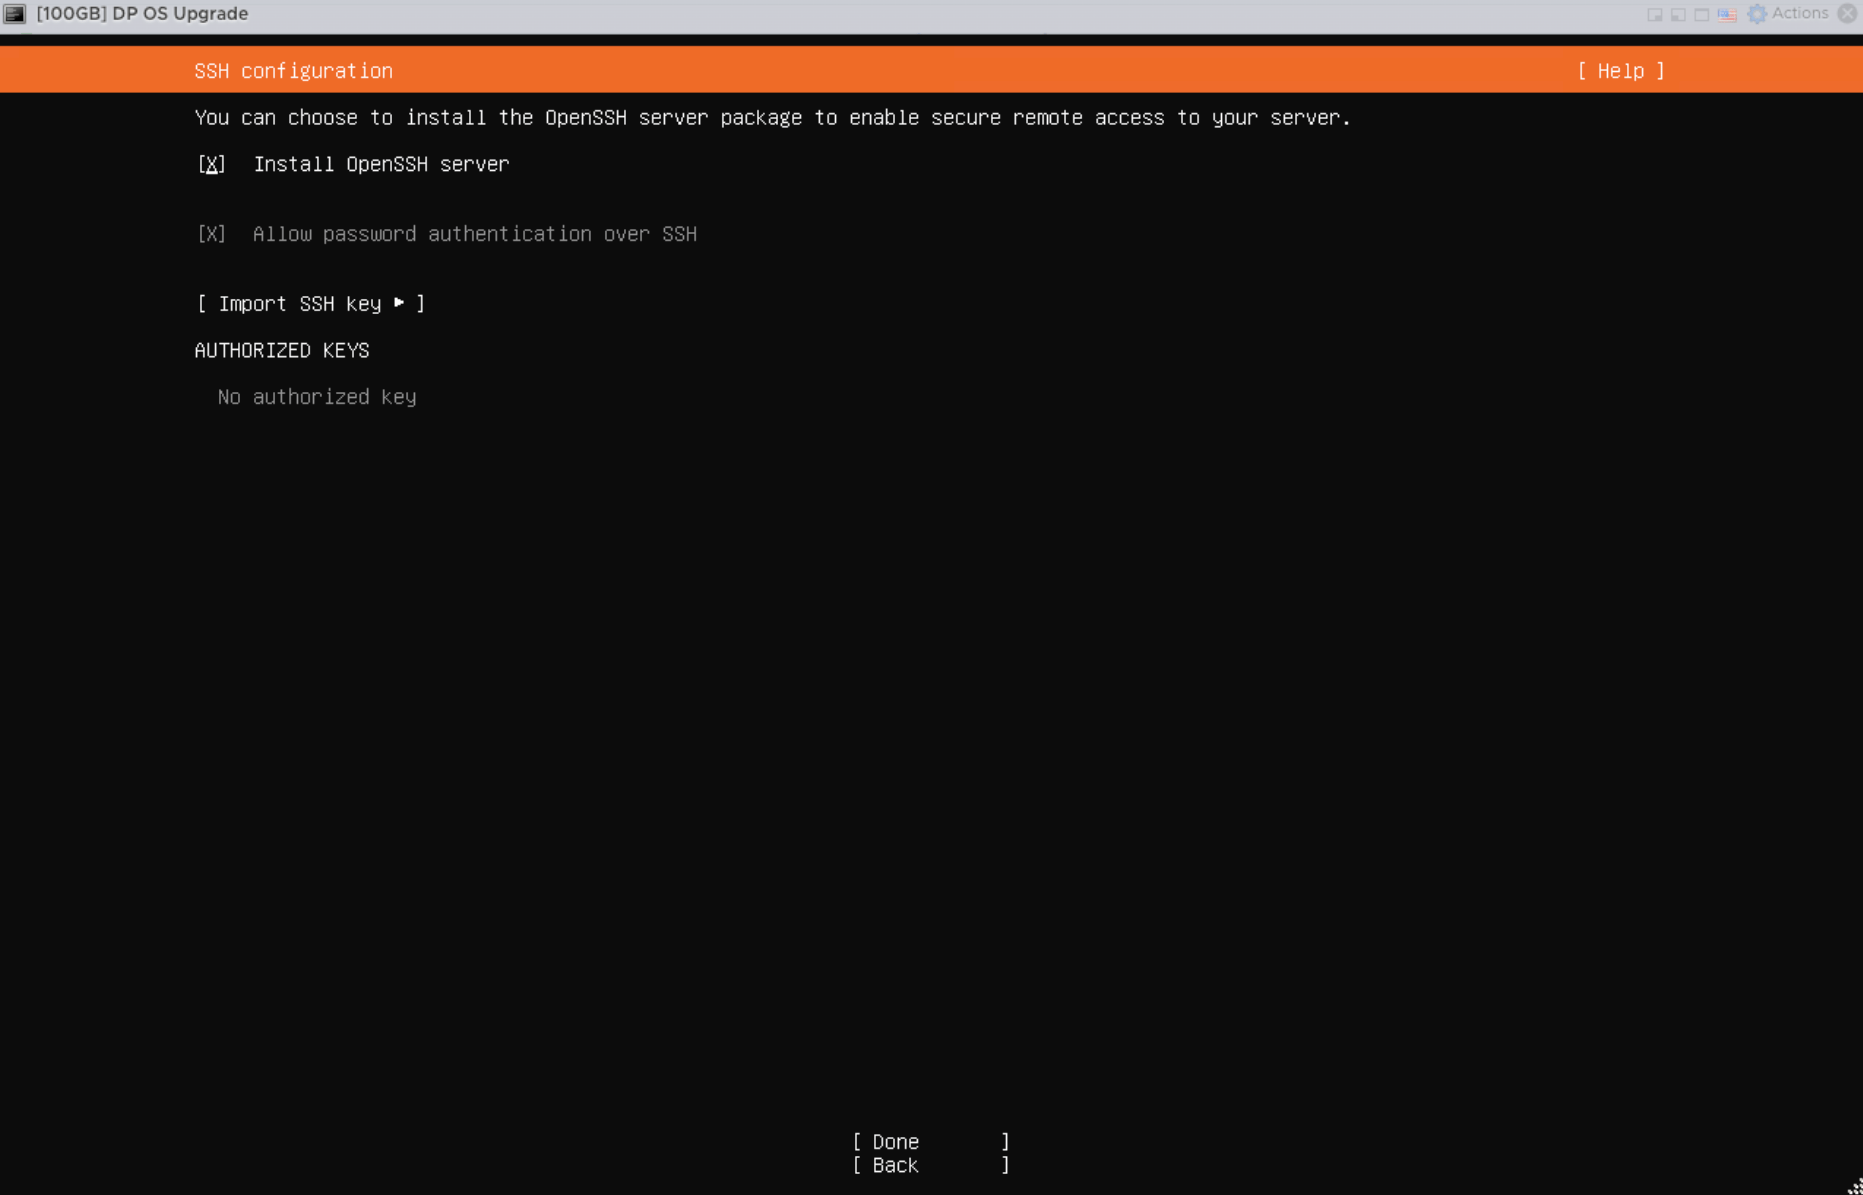
Step 6 — Reboot after installation
When installation completes, select Reboot Now and remove/detach the installation ISO if the hypervisor requires it.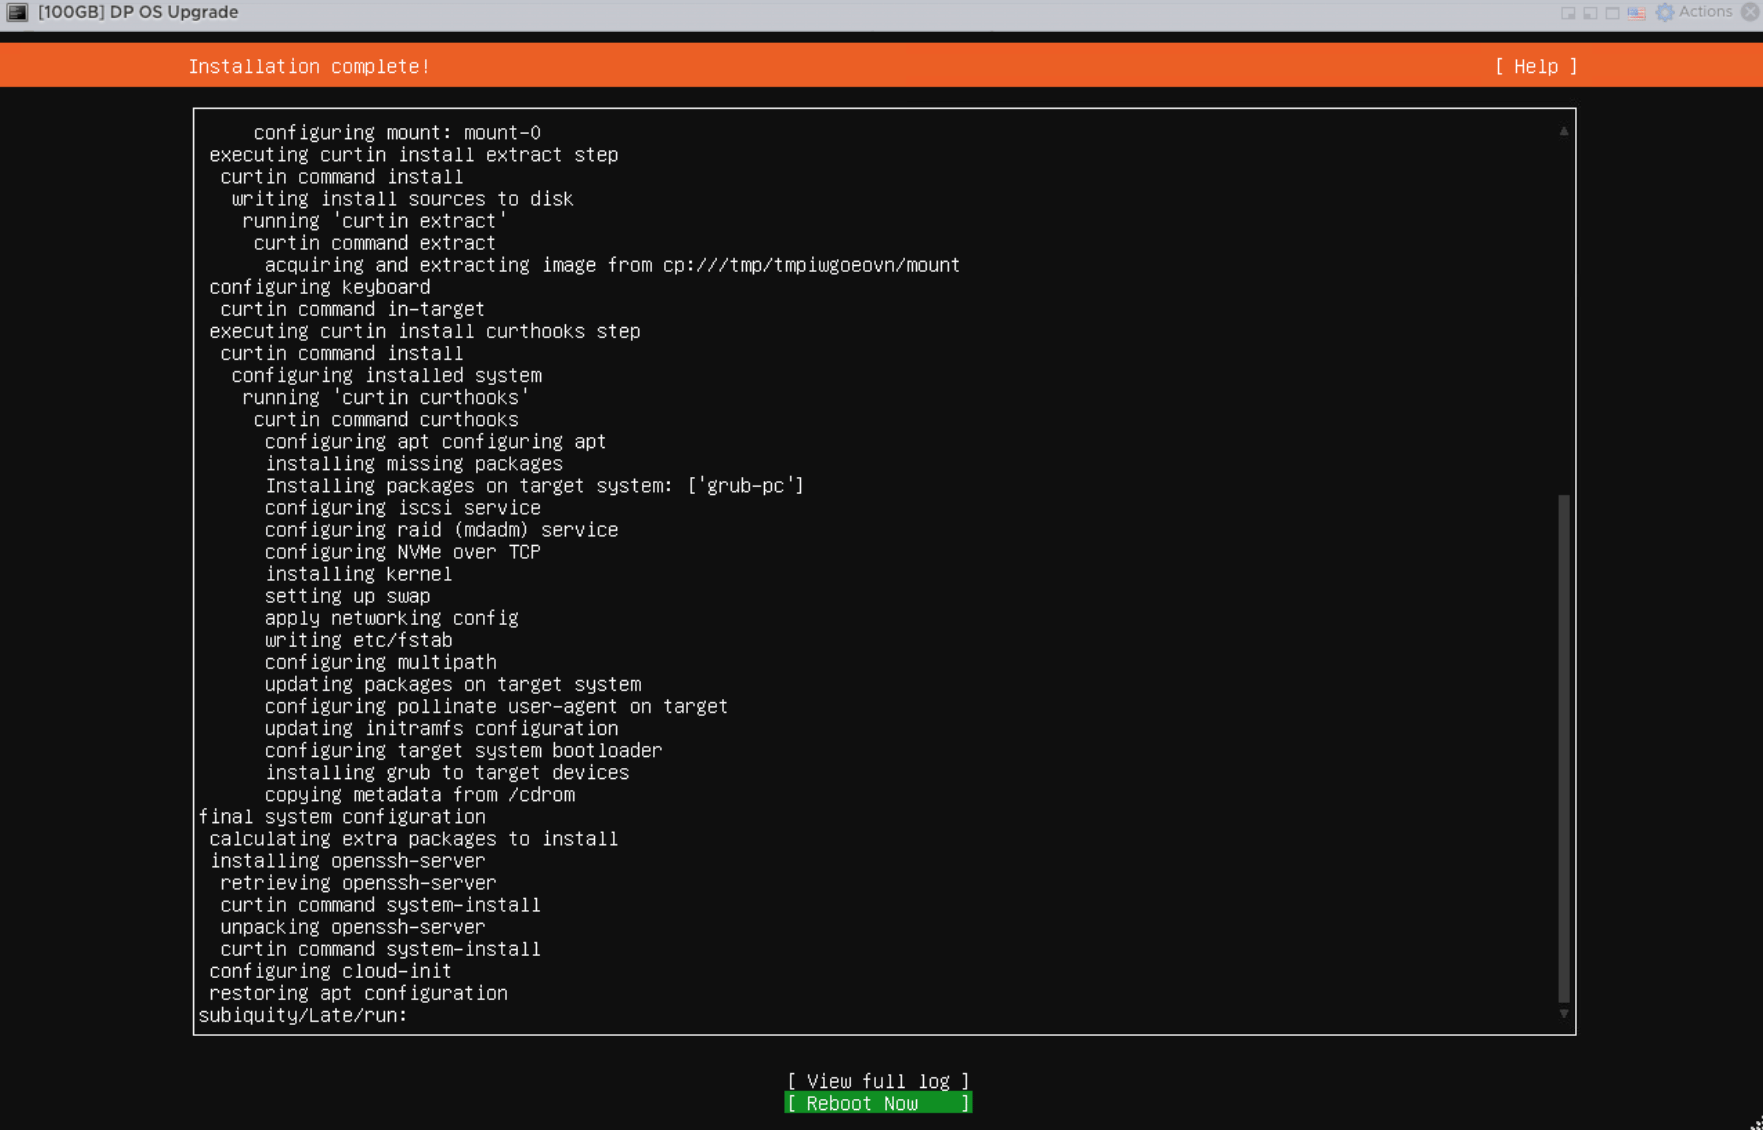
Step 7 — Verify the installed server
After reboot, log in and run:- Ubuntu reports 24.04
- the root filesystem has the expected capacity and enough free space
- the intended IPv4 address is active
- SSH is active
- the IP address is stable and reachable from the target DP network
Step 8 — Configure SSH client keepalive
Long preparation and upgrade operations can leave an SSH terminal idle for extended periods. Configure keepalive on the SSH client used to connect to the Mirror Server and DP hosts so an intermediate firewall, NAT device, or idle-session policy is less likely to drop the session. For OpenSSH, add a host-specific entry to the operator workstation’s~/.ssh/config: